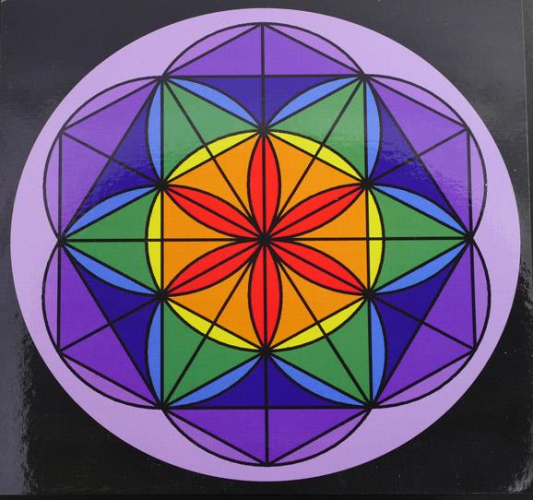
Chakra Grid Board Layout Template
Description
Chakra Grid Board Layout Template
Create a powerful crystal grid with our Chakra Grid Board Layout Template, designed to help you align your crystals with sacred geometric patterns. This template provides a structured way to arrange your crystals in harmony with the chakra colours, making it an ideal tool for those looking to enhance their meditation or energy work.
Whether you choose to match each chakra colour with a corresponding crystal or use Clear Quartz for its amplifying properties, this template offers endless possibilities. Clear Quartz is often considered the most versatile stone for grids, believed to enhance the energy and intentions you set.
When building your Crystal Chakra Grid, find a peaceful environment and set clear intentions to focus your energy. Some believe that even small crystals can radiate powerful energies when arranged in a grid. Take time to blend the energies of your chosen crystals, then meditate on your intentions for a balanced and harmonious outcome.
Before crafting your crystal grid, be sure to cleanse, activate, and program your crystals. Learn how to do so by clicking here.
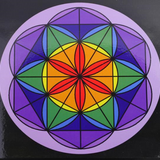
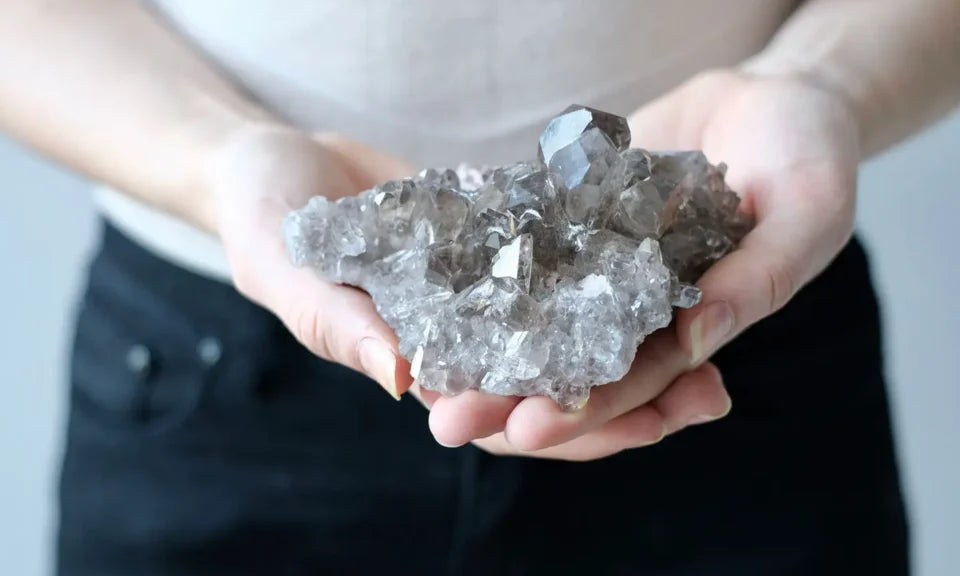
Crystal Meanings

Buy Now, Pay Later with Afterpay & Zip
Free shipping on AU orders $100+
1 Year Jewellery Warranty
14 Day Returns
Length: 20.3 cm
Height: 0.2 cm
Width: 20.3 cm
FAQ
Can I view my piece in-store before buying?
Yes! You’re welcome to purchase online and select click-and-collect to secure your piece—this way, it won’t be sold to anyone else & you can always exchange in-store.
If you’d like to see it first, simply quote the SKU in-store or show us your wishlist, and we’ll happily show you the piece before you decide.
How is my order packaged?
We very carefully package each item to ensure safe transit, so it arrives in perfect condition.
While we do our best to protect every piece, we’re not liable for damage during shipping. However, if an issue arises, please reach out and we’ll work with you to find a solution.
How do you source your crystals?
With over 18 years in business, we’ve built trusted relationships with smaller, reputable suppliers, some of whom we’ve worked with for 15+ years.
We personally visit our suppliers, often family-run businesses, and hand-select each piece to ensure quality and authenticity.
We prioritise suppliers who share our values in business practices, working to respect both the Earth and the people involved.
What payment options are available?
We offer various payment options to make it easy and convenient for you to shop with us. These include Afterpay, ZipPay, PayPal Pay It In 4, Shop Pay plus credit & debit cards.
Shipping
Tracked Free Shipping Australia
Enjoy free shipping Australia-wide on orders over $100.
Shipping costs for orders under $100 are calculated at checkout.
Every order is carefully packaged to protect your crystals and jewellery, though we cannot accept responsibility for any transit damage.
Carbon Neutral Global Shipping
We partner with Australia Post for secure, carbon-neutral global shipping.
All packages include tracking for peace of mind.
International customers, please note that customs fees may apply.
Shipping Timeframes
- Processing: 1–3 business days
- Australia: Regular: 2–6 days | Express: 1–3 days
- International: 5–30 days, depending on location
Check your cart for exact costs and timeframes based on your location.
Order Tracking
A tracking link will be emailed once your order is dispatched, allowing you to monitor its journey to your door.
About us

Our Legacy
Founded in 2007, Feel Crystals and Jewellery has been a family-run business for nearly two decades, dedicated to connecting customers with extraordinary, high-quality crystals and jewellery that add some magic to your life.
Started by Isabelle & Greg Robson, daughter Celeste stepped in at an early age and has maintained an active role in the business. Even our treasured staff member Belinda has been with us since the very beginning!
A caring, customer centric approach drives everything we do. We hope you feel the passion that we share for these spectacular manifestations of our Earth.
Our Partnerships
We’ve fostered strong partnerships with trusted suppliers, many of whom we’ve worked with for over 15 years.
By working directly with small, family-owned businesses and personally visiting our suppliers all over the globe, we ensure that each piece we bring into our collection aligns with our values and quality standards.
We're are an active member in our local Samford community, often supporting local events and other small businesses. We wouldn't be here without our local community!

Our Commitment to Quality
We personally travel overseas to hand-select each item in our collection, offering only the finest crystals that meet our high standards. Our selection process ensures that every piece is chosen with care and integrity and only joins our shelves if we personally love it.
We aim to stock the staples as well as the rare and wonderful pieces.
If you're ever chasing anything in particular that can't be found in our online store, don't hesitate to reach out. If we don't currently stock it, we will always do our best to hunt it down.
Learn How To
Cleanse Your Crystals
For centuries crystals have been revered in many cultures worldwide. It is believed that their energy can become stagnant, benefiting from a practice of cleansing & clearing.
Your guide to
Gemstone Jewellery Care
Each crystal is unique. Learn how to look after your pieces to keep them radiating their natural beauty and last many years to come.